lesson 14
Translation made by MARION


Supplies.

Color Palette
Set the foreground color to color #ffffff(white) ----Set the background color tot color # eb1927 (red)
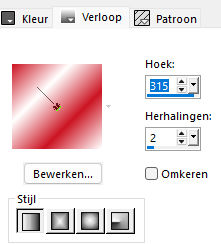
Prepare a linear gradient configured like this
Angle315 ---Repeats 2
You are welcome to take this arrow with you
1.
File---New
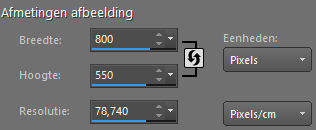
Open a new transparent image in this size
Width---800---Heigth---550. pixels
2.
Flood fill the layer with the gradient
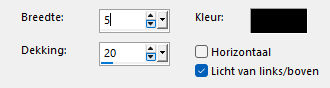
Effects---Texture effects---Blinds 3---20---Color black---
Horizontal---Light from left/top checked

3.
Layers--New raster layer ---Flood fill the layer with color #ffffff
4.
Open-creation.tine_masque.jpg
Click on the minus sign at the top right.
Layers--New Mask Layer--From Image--Choose.-creation.tine_masque.jpg
Source Luminance checked
Layers---Merge---Merge Group
Layers-Properties-Set the blend mode to " Screen "
Effects---Edge Effects---Enhance
5.
Open the tube ---frame-12-2025.png
On this frame
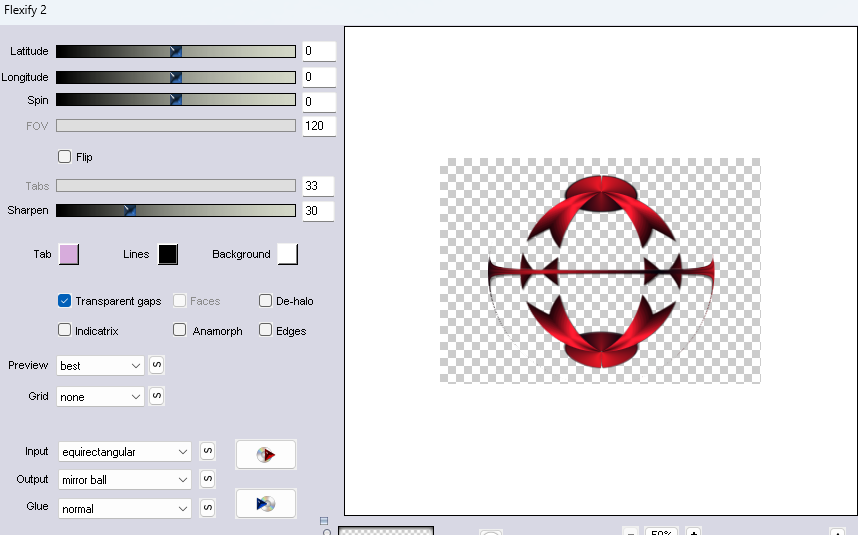
Effects---Plugins---Flaming Pear---Flexify 2
Input---equirectangule---Output---mirror ball---rest standard.
6.
Edit--- Copy --- Activate your work --- Edit ---Paste as new layer.
7.
Image ---Resize---130%---Resize all layers not checked
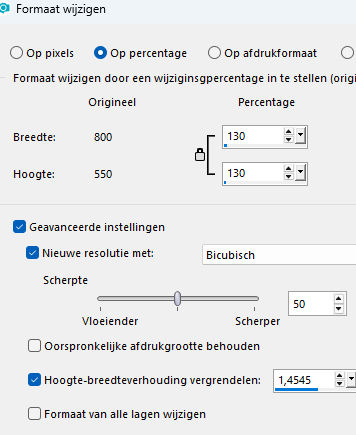
Adjust---Sharpness---Sharpen
Objects---Align--Left
8.
Open the tube ---Hart -1
Edit--- Copy --- Activate your work --- Edit ---Paste as new layer.
Place the heart nicely in the center of the sphere
Activate your Magic Wand ---RGB-Value--- Tolerance and Feather at 0---Contiguous---Anti-alias

Click your middle of the heart.
Effects---Texture Effects---Blinds 5---20---Color black---Light from left/top checked
Selections remains activated
8.
Open the tube --- 792.png
Edit--- Copy
Activate your work --- Edit ---Paste as new layer.
Slide the tube in the selection ----Selections---Invert---Delete on the keyboard
Selections---Select none
9.
Open the tube --Vlinders
Activate the tube Vlinders
Edit--- Copy
Activate your work --- Edit ---Paste as new layer.
Add some butterflies to your work space.
10.
Activate Raster 3---(the heart) in the layer palette
Effects---3D-Effects ---Drop Shadow use the settings below

11.
Open the---tube---deco-1-14-2025.png
Edit--- Copy
Activate your work --- Edit ---Paste as new layer.
Move to the right
Pick Tool: (K) on your keyboard - Enter the following parameters on the toolbar---X---610.00---Y 27.00

Repeat the Drop Shadow---0---0---60---25---Color black.
Press the ( M ) button to close the tool
13.
Open the tube --- deco-mb14-2025.png
Edit--- Copy
Activate your work --- Edit ---Paste as new layer.
Move to the right
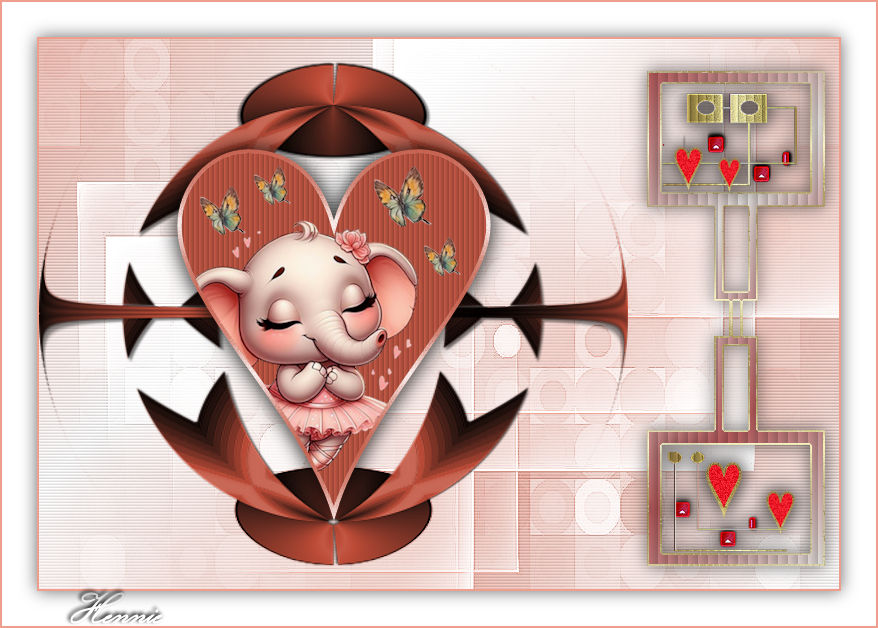
(see finished image )
Repeat --- Drop Shadow---0---0---60---25---Color black.
14.
Image--Add borders---2 Pixels---Dark color
Selections---Select All
Image--Add borders---35 Pixels---Light color
15.
Repeat --- Drop Shadow---0---0---60---25---Color black.
Selections---Select none
Image--Add borders---2 Pixels---Dark color
Add your watermark on a new layer.
Save as JPG.
Have fun with this lesson
Greetings Mieke
Example created by Hennie

|